JOIN A GROUP TODAY!

gingham pumpkin

Gingham Pumpkins

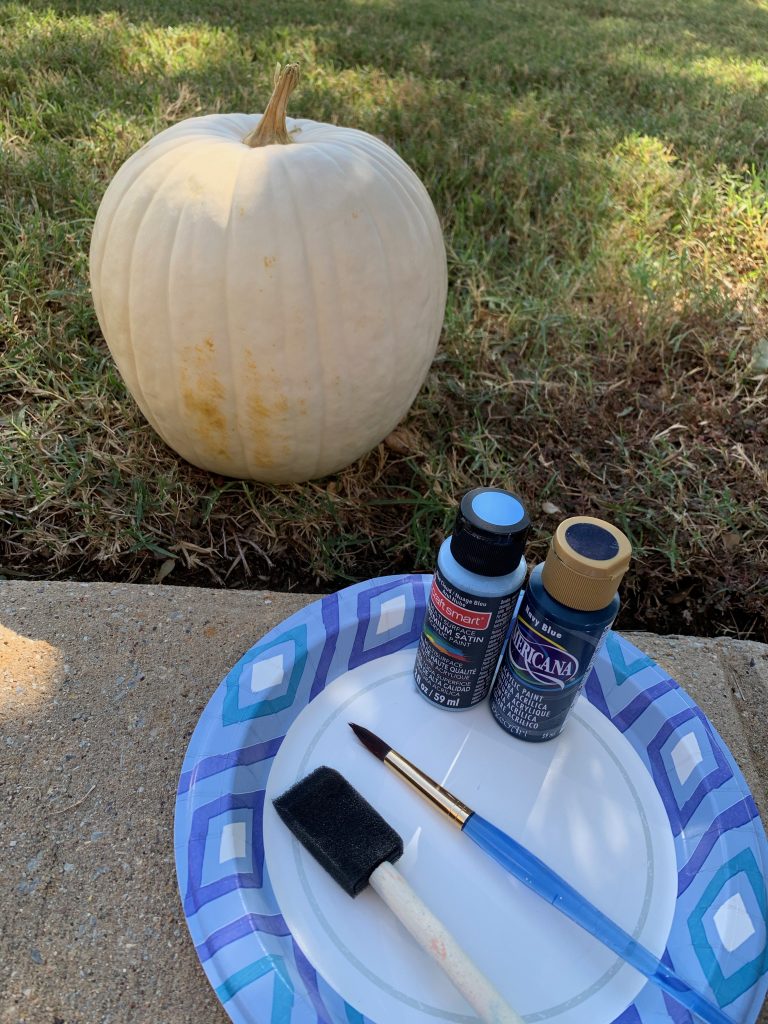
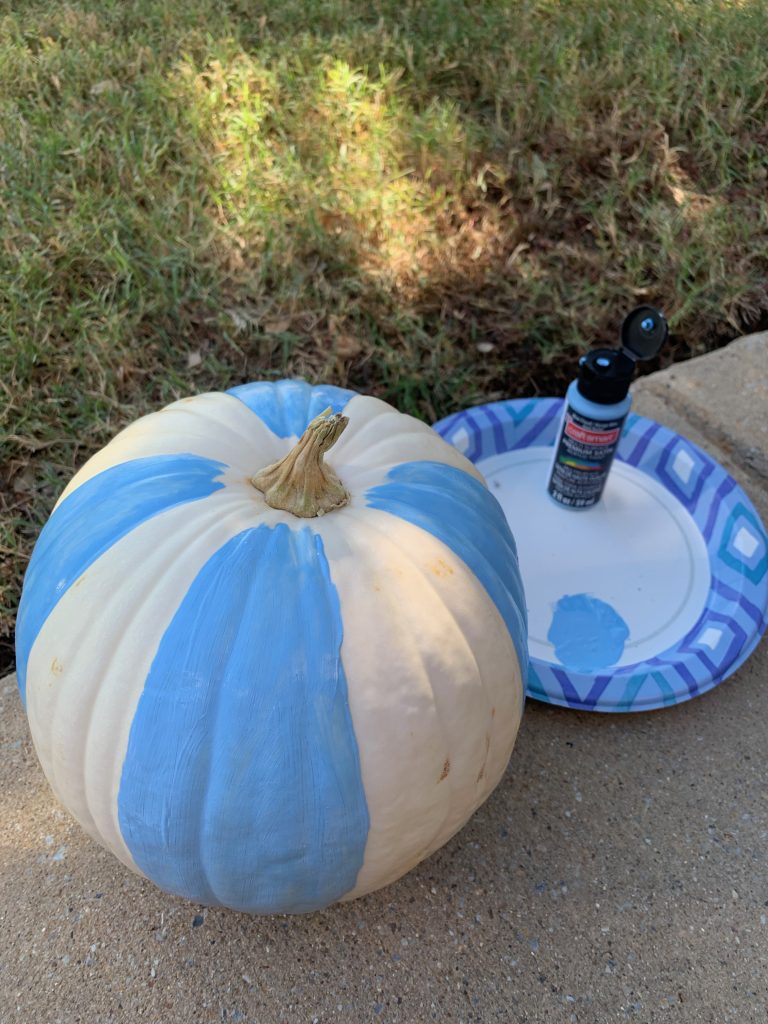
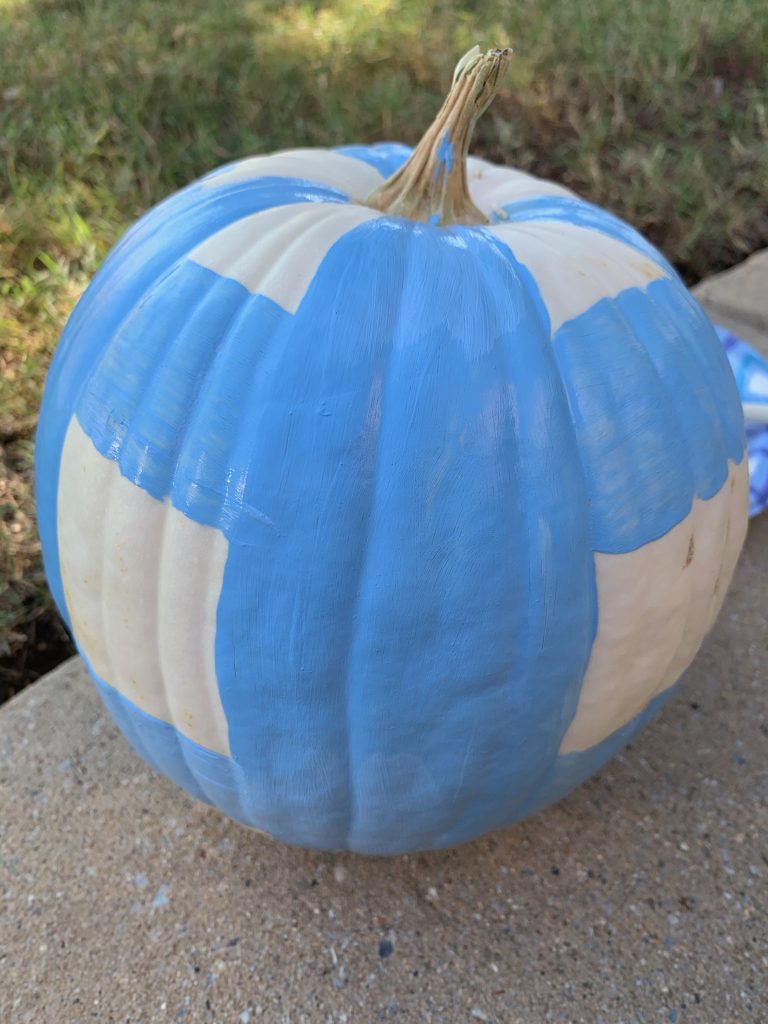
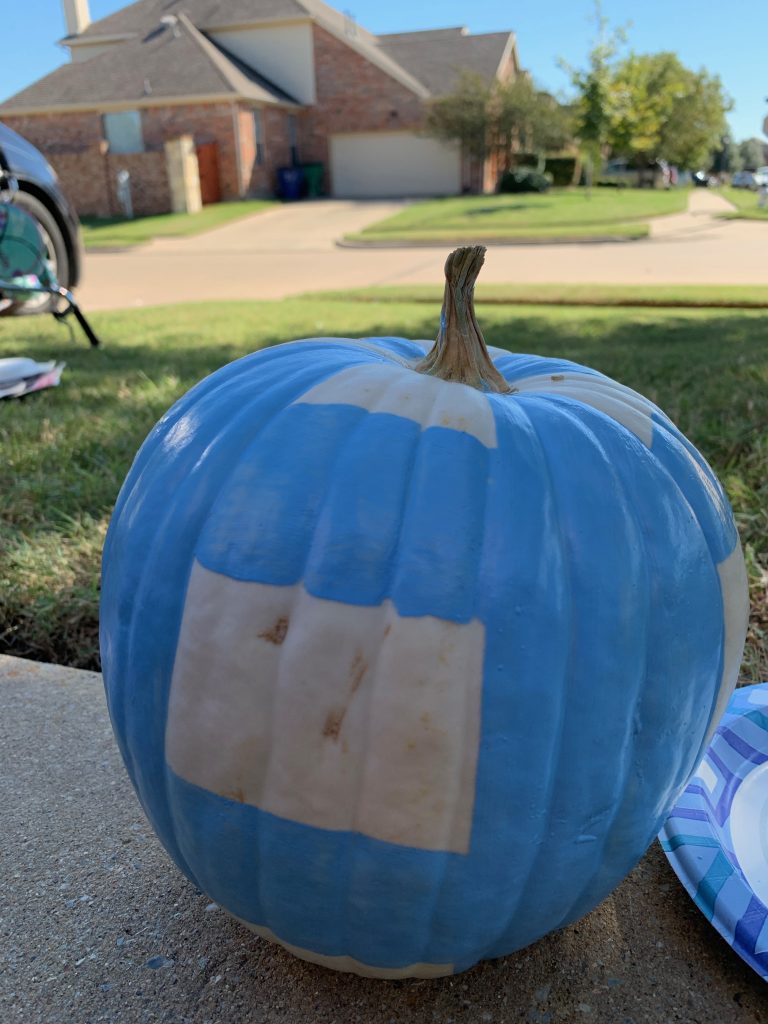
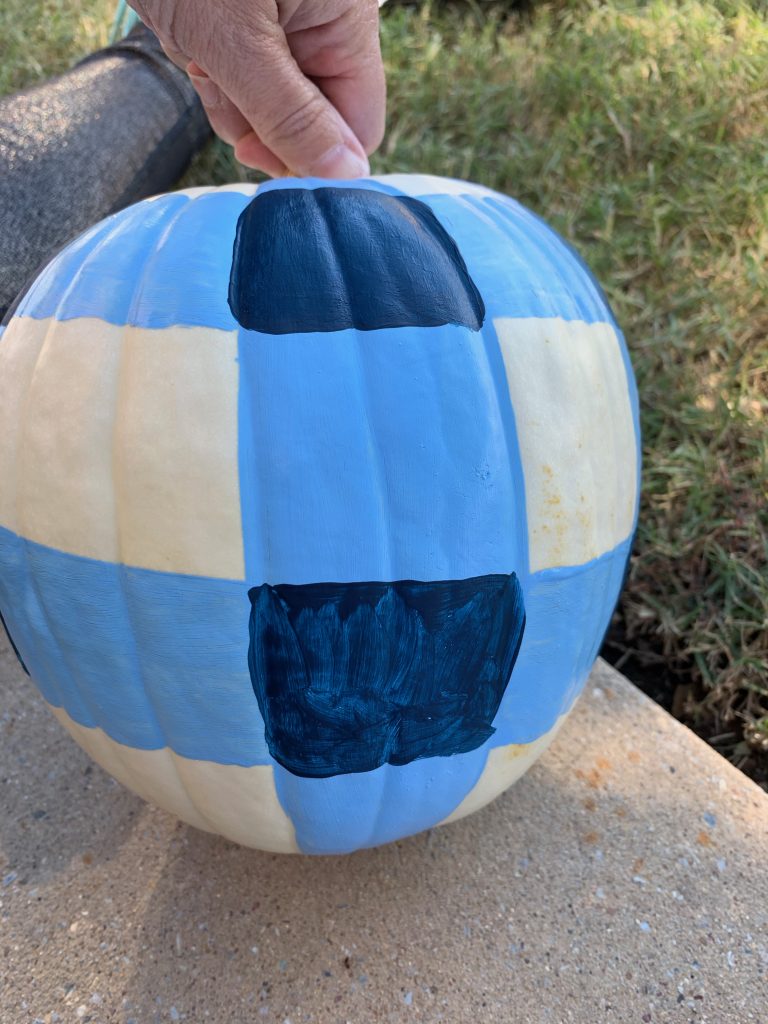
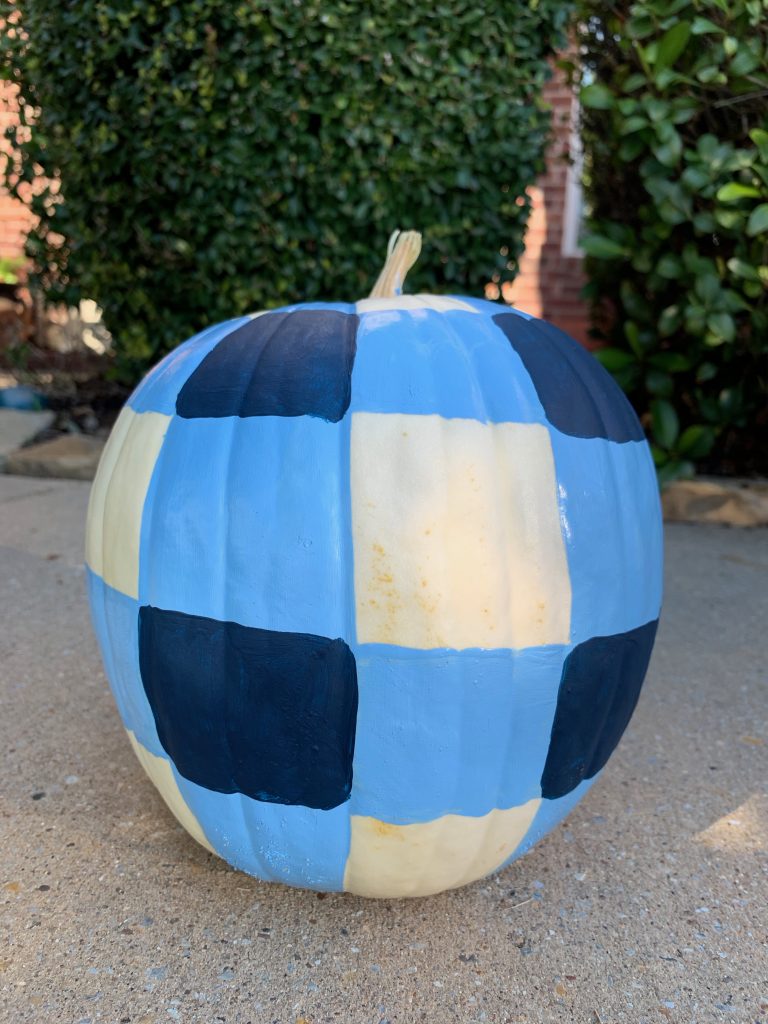
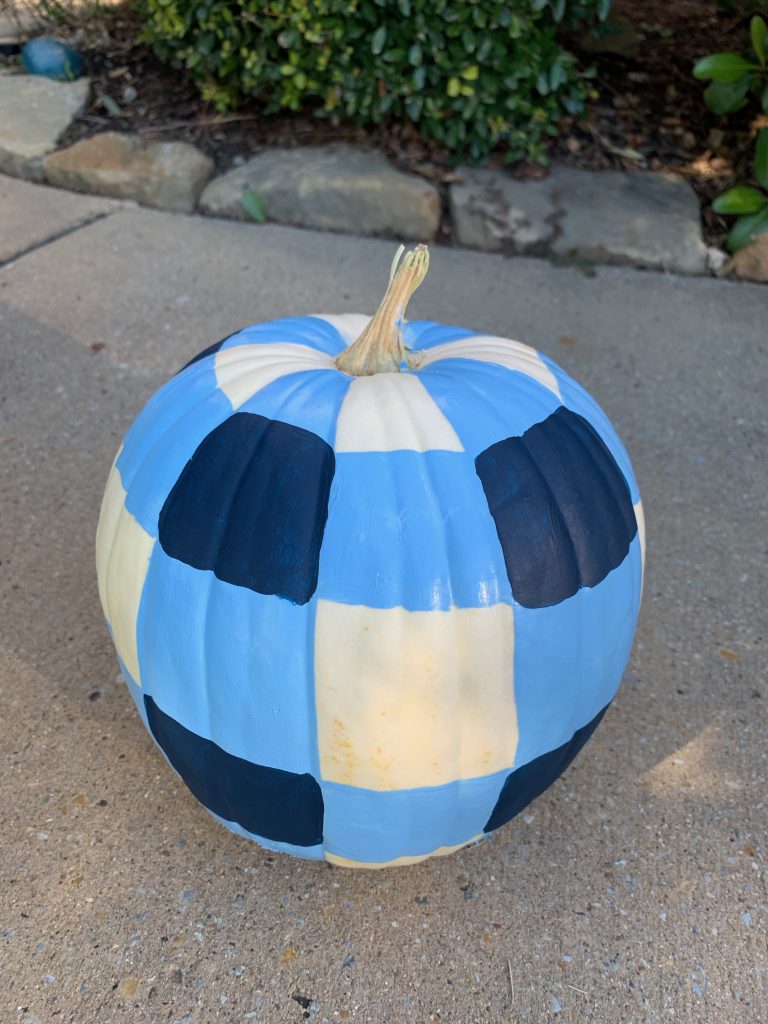
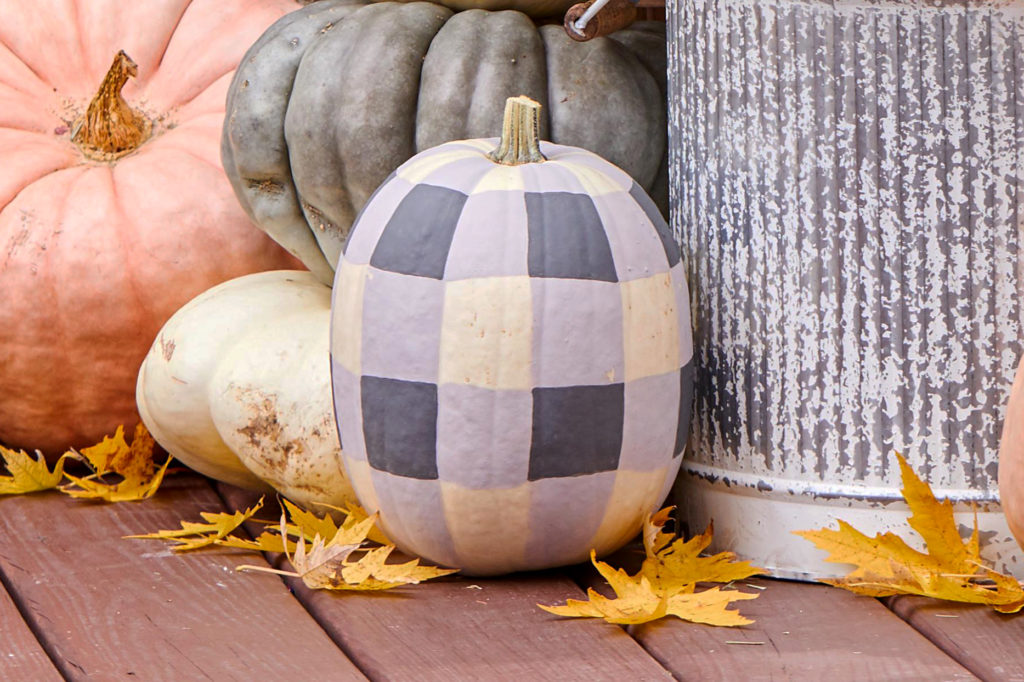
We are taking on another Pinterest hack today by painting gingham pumpkins. Pumpkins might be the perfect thing on which to try all the fun painting ideas. There are so many ways to jazz them up with creativity and a little paint. Check this out and try it for yourself!

Supplies: White pumpkin, paper plate, 2 shades of blue acrylic paint, a foam paint brush and a slender paint brush. Wipe down your pumpkin to get any dirt or smudges off. A white pumpkin makes a great canvas for this design but you can also try this out on an orange or green pumpkin. I love that pumpkins come in so many shapes and colors!
Using your foam paint brush, paint blue vertical stripes around the pumpkin with the lighter blue. Pumpkins have natural dividers in their bumps. I chose to paint 3 bumpy sections and then skip 3 bumpy sections. I had to fudge a little as I got back around to the start but it worked out. I wasn’t going for perfection but the foam brush easily painted the wide stripes with a fairly clean edge. Experiment with different brushes and pick what you like best.
Next paint horizontal stripes with your lighter blue. Depending on the size of your pumpkin, you might have 2 or 3 sections of vertical stripes. My pumpkin was small-medium so I did 2 sections. Don’t get caught up in perfection, a bumpy pumpkin makes for bumpy lines.
Time to add the gingham pattern! Using your slender paint brush, paint the darker blue in squares on the vertical stripes. My first coat of dark blue was blotchy. I did a second coat and it came out smooth and dark. You will paint the darker sections on each vertical stripe, almost like you’re painting the center of a cross.
Voila! A gingham pumpkin! Perfect, no…even stripes, no…but cute, YES! Imagine a grouping of these on your porch. You can use any color you like; just choose a light and dark shade.

Leave a Comment

Your email address will not be published. Required fields are marked *